Most people think solar installation means a day of work on the roof. In reality, the roof work is the shortest part. Approvals, net metering and subsidy release take longer. Here is the full process so you know what happens when, and who does what.
What are the steps of rooftop solar installation?
A grid-connected rooftop solar system is a set of panels on your roof that feeds your home and exports surplus power to the DISCOM grid through a net meter. Getting one installed under the PM Surya Ghar Muft Bijli Yojana works like this:
Step 1: Site survey and load assessment
The installer visits your home, measures shadow-free roof area (about 80–100 sq ft per kW), checks shading, roof strength and orientation, and reviews 12 months of bills plus your sanctioned load. If the sanctioned load is below the planned capacity, you may need a load enhancement first.
Step 2: System design and quotation
You receive a design with panel layout, structure type, inverter choice (on-grid or hybrid), protection equipment and a generation estimate. Compare quotes using our installer checklist.
Step 3: Register on the PM Surya Ghar portal
Register at pmsuryaghar.gov.in with your state, DISCOM, consumer number and mobile number. Then submit the rooftop solar application and choose a registered vendor. In Uttar Pradesh, the same application covers the UPNEDA state top-up reported at about ₹15,000/kW up to ₹30,000; confirm the current rate with UPNEDA.
Step 4: DISCOM feasibility approval
Feasibility approval is the DISCOM’s technical clearance that your connection and local transformer can accept the proposed solar capacity. Do not start installation before this. In Varanasi and eastern UP, the DISCOM is Purvanchal Vidyut Vitran Nigam Ltd (PuVVNL).
Step 5: Material delivery and installation
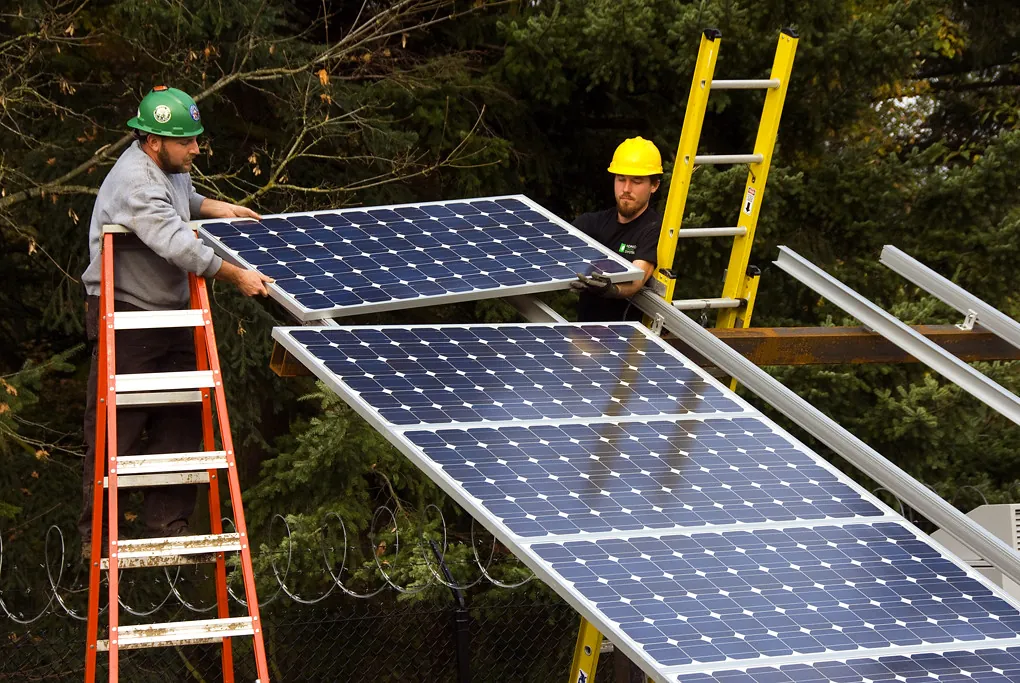
The vendor installs the structure, ALMM-listed DCR panels, inverter, DCDB, ACDB, earthing pits and lightning arrester. A 3–5 kW system typically takes 1–3 days on site.
Step 6: Net meter application
The vendor submits installation details on the portal and applies for a bi-directional net meter. Depending on the state, the DISCOM supplies the meter or approves a tested meter bought from a listed supplier. See the net metering guide.
Step 7: Inspection and commissioning
The DISCOM inspects the installation, seals and fits the net meter, and issues a commissioning certificate on the portal. Your system can now export to the grid.
Step 8: Subsidy credit
You submit bank details and a cancelled cheque on the portal. The central financial assistance (CFA) of up to ₹78,000 is credited directly to your bank account. Details are in how to apply for PM Surya Ghar subsidy.
How long does each step take?
| Step | Who does it | Typical time (indicative) |
|---|---|---|
| 1. Site survey | Installer | 1 day |
| 2. Design and quote | Installer | 2 – 5 days |
| 3. Portal registration and application | You / installer | 1 – 2 days |
| 4. DISCOM feasibility | DISCOM | 7 – 15 days |
| 5. Installation | Installer | 1 – 3 days (after material arrives) |
| 6. Net meter application and supply | Installer / DISCOM | 7 – 20 days |
| 7. Inspection and commissioning | DISCOM | 3 – 15 days |
| 8. Subsidy credit | MNRE via portal | Often within ~30 days of commissioning |
| Total | About 4 – 10 weeks |
Timelines vary by DISCOM workload, season and document accuracy. Load enhancement, if needed, adds time.
Which documents should you keep ready?
- Latest electricity bill with consumer number
- Aadhaar or other ID proof
- Property ownership proof, or owner’s consent if you are a tenant or co-owner
- Bank account details and a cancelled cheque
- Photographs of the roof and the installed system (for portal upload)
How much does it cost, and how do you pay?
Indicative 2026 pricing for residential on-grid systems is ₹55,000–70,000 per kW before subsidy, with 5% GST on solar devices since 22 September 2025. You pay the vendor the full price and receive the subsidy afterwards. Payments are usually staged: booking, material delivery and commissioning. Collateral-free concessional loans (reported around 7% for up to 3 kW via public sector banks) can be applied for through the portal; see solar financing and the EMI calculator.
| System | Price before subsidy | Central subsidy |
|---|---|---|
| 2 kW | ₹1,10,000 – ₹1,40,000 | ₹60,000 |
| 3 kW | ₹1,65,000 – ₹2,10,000 | ₹78,000 |
| 5 kW | ₹2,75,000 – ₹3,50,000 | ₹78,000 |
What usually causes delays, and how can you avoid them?
- Name or address mismatch between the electricity bill and bank account.
- Sanctioned load lower than solar capacity.
- Installing before feasibility approval.
- Non-DCR or non-ALMM panels, which make the system ineligible for subsidy.
- Missing photographs or serial numbers in portal uploads.
What happens after commissioning?
Track daily generation in the monitoring app, clean panels regularly and schedule an annual check. Your first bills after net metering will show imported and exported units. See the maintenance guide.
- The process has eight steps, from site survey to subsidy credit.
- Roof work takes 1–3 days; the full process usually takes 4–10 weeks.
- Always get DISCOM feasibility approval before installation.
- Use a registered vendor and ALMM-listed DCR panels to stay subsidy-eligible.
- Matching names on bill and bank account avoids the most common subsidy delays.
Want someone to handle the survey, paperwork and installation end to end? SolarEMS supports homes in Varanasi, Purvanchal and beyond. Book your site survey.
Frequently asked questions
How long does rooftop solar installation take in India?
Physical installation of a 3 to 5 kW home system usually takes 1 to 3 days. The full process, including DISCOM feasibility, net metering, inspection and subsidy credit, typically takes about 4 to 10 weeks, depending on your DISCOM and paperwork.
What documents are needed for rooftop solar installation?
Usually your latest electricity bill with consumer number, Aadhaar or ID proof, property ownership or authorisation proof, a cancelled cheque or bank details for subsidy, and a photograph of the roof. Requirements vary by DISCOM and state.
When is the PM Surya Ghar subsidy credited?
The subsidy is released after the system is installed, the net meter is fitted, the DISCOM inspects and commissions the system, and you submit bank details on the portal. Credit to your bank account often follows within about 30 days of commissioning, though timelines vary.
Do I need DISCOM approval before installing solar?
Yes, for grid-connected systems. You must obtain technical feasibility approval from your DISCOM before installation. Installing first and applying later can delay or block net metering and subsidy.
Who installs the net meter?
The DISCOM installs or approves the bi-directional net meter. In some states the consumer or vendor buys a tested meter from an approved list, and the DISCOM seals and commissions it.

Written and reviewed by our solar design & energy specialists. Figures are indicative as of November 2026 — always confirm current rules with the national portal or your DISCOM. About us
#net metering#PM Surya Ghar#rooftop solar installation#solar installation process